
Projects:
GTO
My
67 Pontiac GTO
Trunk Body Work
-Trunk pans
-Wheel wells
Body Work Part 1
-Rear Quarters
-Rear Door Jambs
-Window Reveals
Body Work Part 2
-Cowl
-Pillar
-Rocker
Body Work Part 3
-Windshield channel
-Doors
-Fenders
GTO Paint
-Filler work
-Priming
-Blocking
GTO Frame Work
GTO Convertible Top Pt 1
-Top Frame
GTO Convertible Top Pt 2
-Top Trim
GTO Drivetrain
-Engine
-Quadrajet Rebuild
-Exhaust
-Axle
Muncie
Rebuild
popular
Auto to Manual Swap
1967
Ram Air GTO
story
Wheelhouse Filler template PDF
Willys CJ3A
CJ3A Intro
Engine and REBUILD
Drivetrain
BodyWork 1
BodyWork 2
BodyWork 3
BodyWork 4
Paintwork 1
Paintwork 2
Final Assembly
Final Assembly 2
Electrical System
Other Rods
TJ Wrangler Rubicon
CJ7
CJ8
Triumph TR4
Decrepid Dakota
Powerdyne Minibike
Allis Chalmers B engine rebuild Part 1
Allis Chalmers B engine rebuild Part 2
Allis Chalmers Generator to Alternator conversion
Gizmos
Stereo camera
rig
Stereo mic preamp
About:

Feeds

Markup
Other Body Work
Odd jobs and musings of a bodywork nature...
Dodge Dakota Roll Pan
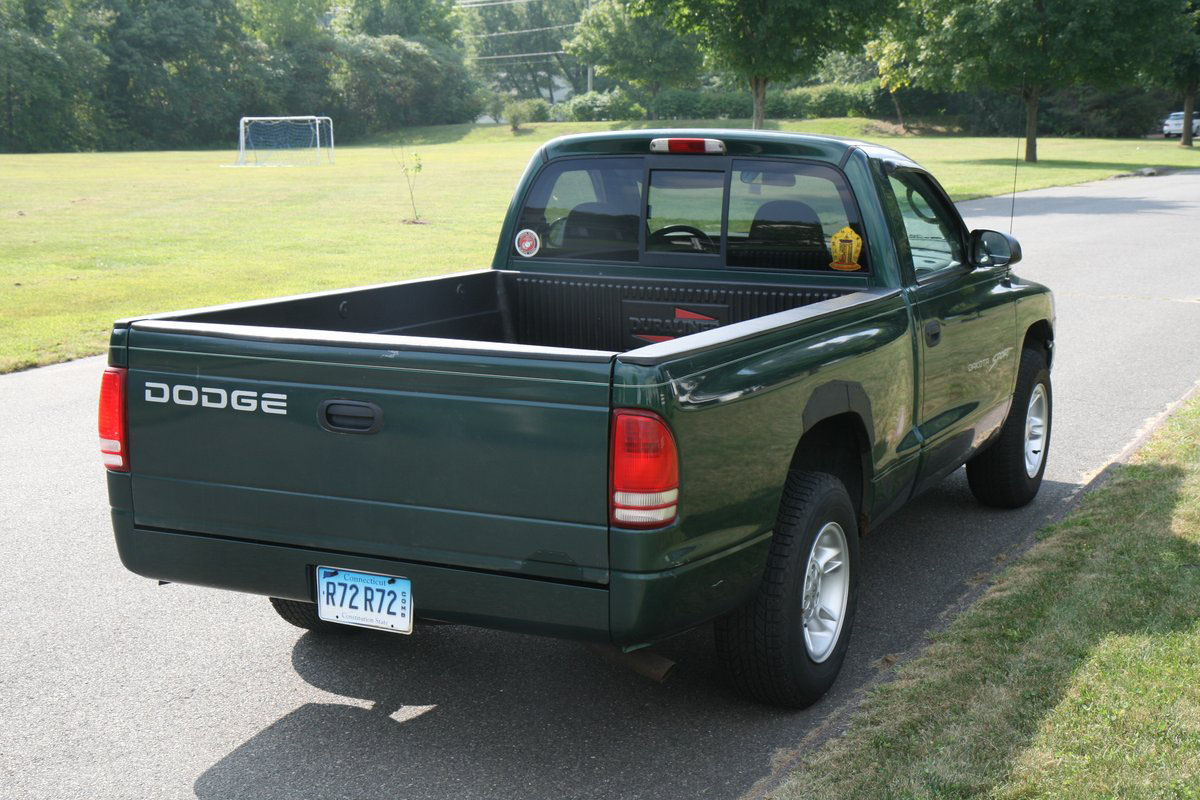
I inherited my Dad's old 2wd Dodge Dakota strippo 4 cylinder some years ago, and I intended to just drive it and then junk it when something broke. I used it pretty hard with hardly a care.
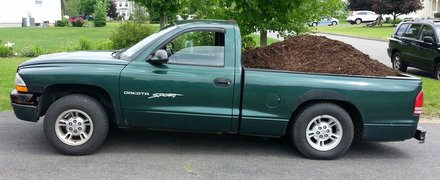
Well, this little truck grew on me, and now I can't help myself when it comes to keeping it going. For a long while now, it's been my daily driver because I can get 25-27 mpg with it on summer gas, which is pretty good compared to one of those skittish mini pickups.
However, the corrosion rate has accelerated of late, and loss of body surface area has been measurable in units of square feet.
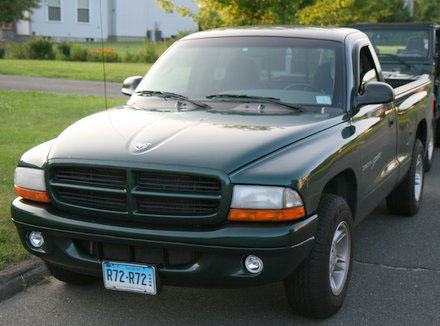
Recently, I found myself mildly embarrassed by it's appearance at an event I attended. This motivated me to do some bodywork. Not "nice" bodywork, but more of a spartan, utilitarian style that features pop rivet fastening.
Well, the patches looked pretty good, so I washed the truck. Hmmm, it still had some shiny parts. With those improvements, I decided the front bumper (which was mostly holes) had to go. I procured a 92 dollar special no-name ebay replacement, massaged out the tooling marks, painted it body color with duplicolor spray bombs (rather than the original black) and bolted it on. I threw on a pair of 18 dollar wallyworld fogs into the fascia to replace the long defunct, smashed originals.
So you see the slippery slope I'm on here: Now the rear bumper was just not up to standards (it also was about half it's former self due to rust). A search was commenced for a replacement rear bumper, but all candidates, new or used, exceeded my budget. So I figured I don't need a bumper, I could get by with a roll pan. Roll pans can be had cheaper than bumpers, but they can still be a tad pricey.
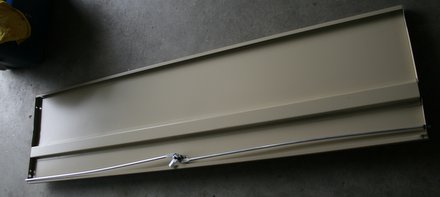
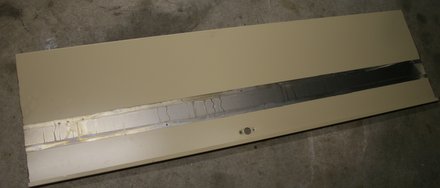
Around this time I got my hands on a steel storage cabinet. I grabbed it because I like cutting up stuff like this to have sheet metal around for various projects. Projects like roll pans. So I engaged in a hare-brained scheme to make my own roll pan.
When I started "project roll pan", I wasn't really too serious about it. I took a door off the cabinet, and cut off the edges and hat channel, and grabbed some 2x4's and clamps.
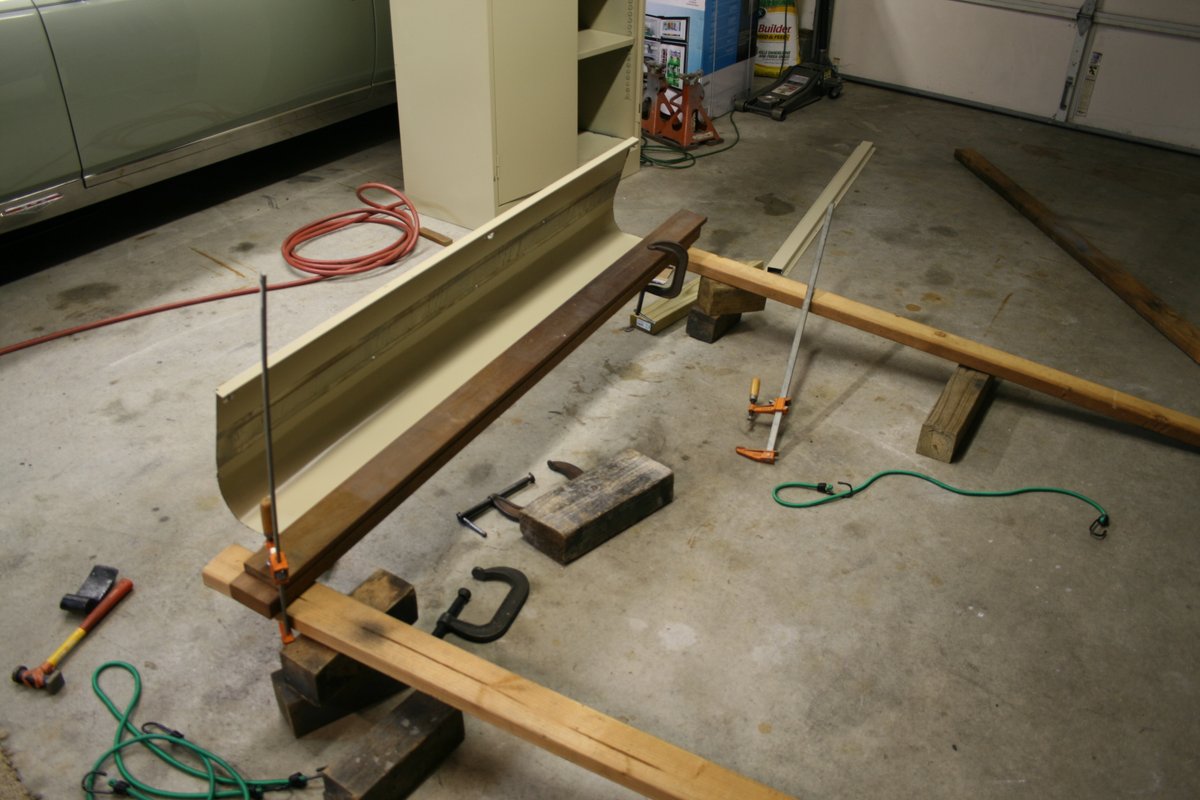
I formed the "roll" first. I clamped a long edge of the metal in between the wood and curled the metal around a heavy 4" diameter cardboard (typically found inside a rolled up carpet). I made up a template of the desired pan profile from the side panel at the rear to check the "curl" of the pan. The curl came out rather wrinkly, but it wasn't a show stopper. Once the curl was good, I formed a right angle lip at the bottom of the pan for strength.
Next was a set of folds at the top so it could be attached to the bed underneath the tailgate. The 2x4's and clamps served nicely here too. I generally used a block of wood to pound the metal over the edge of the 2x4 wood form to make neat 90 degree folds.
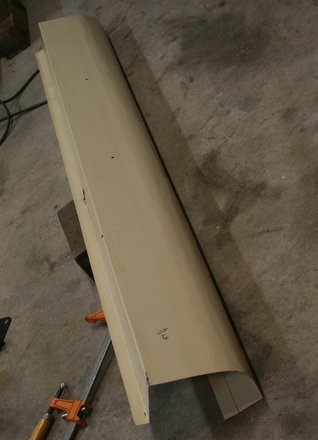
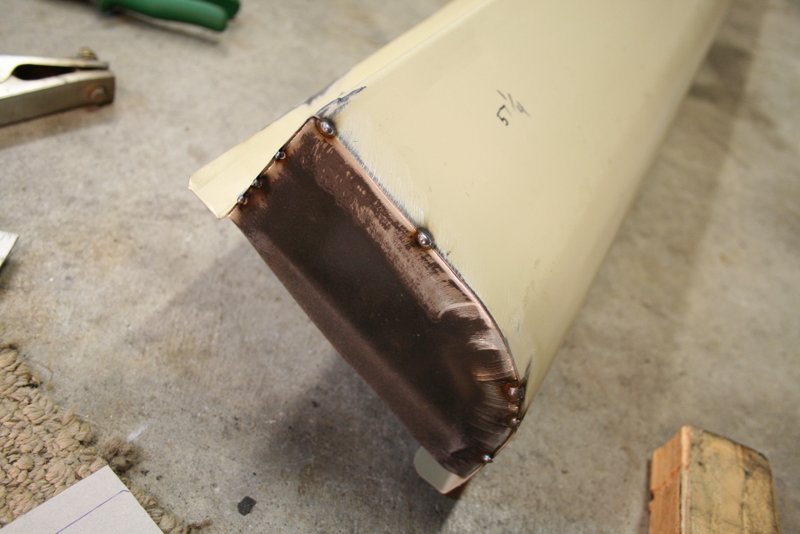
Once the pan was completely shaped, it needed to have end caps and internal "gussets" installed. I broke out the MIG to weld them on.
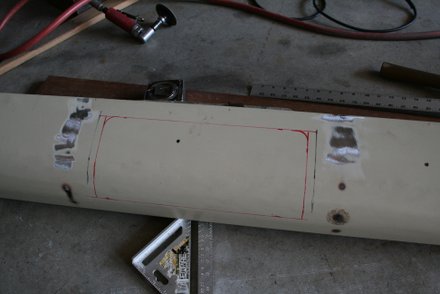
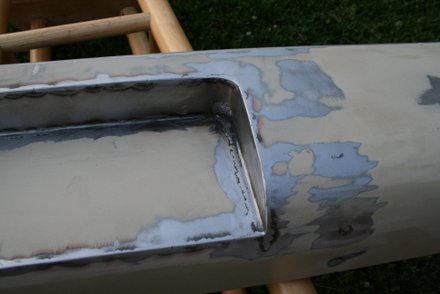
A license plate mount is a pesky necessity, and for looks it might as well be "frenched" into the pan. An agreeable shape was made with a marker and then cut out.
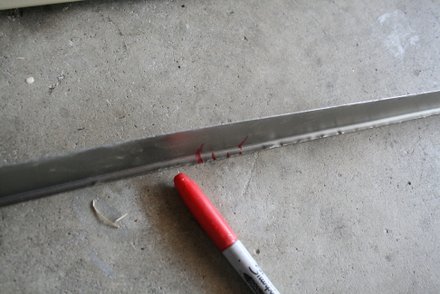
The sides of the frenched opening were formed by using a scrap of the cabinet door that had a nice soft fold on an edge. To bend an easy curve into the scrap, I cut wee triangles into the short "leg" of the scrap so it could be formed into a smooth curve. Here's the scrap before "birdsmouthing":
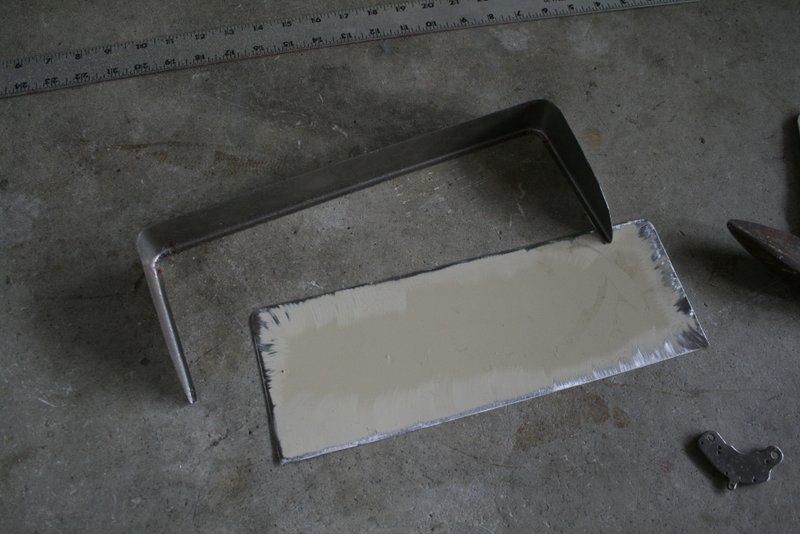
After "birdsmouthing" and folding it over a form:


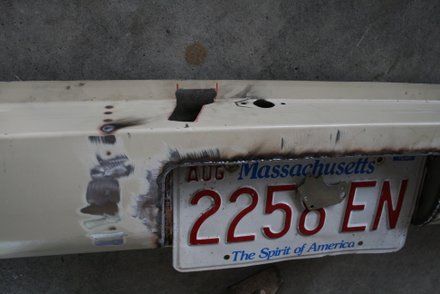
Once fit into the opening, the sides were trimmed to fit the profile of the pan curl. A rectangle was cut out to serve as a back and the whole thing was welded up and smoothed down with roloc grinding discs. Note also in second image below I cut a hole in the top to access the bed spare tire hand winch (it's enough to get a 12mm wrench in there to turn the winch rod). And make another note of the goofy hole from the cabinet door handle.
I shot the whole thing with epoxy primer, then did some filler work to smooth out the dings and wrinkles.
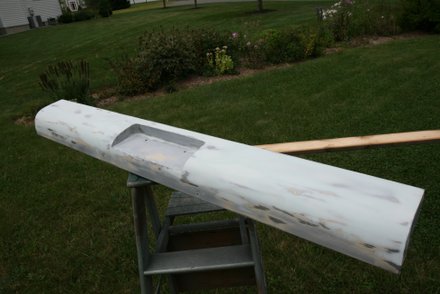
I layed down some 2K, and smoothed it a bit more.
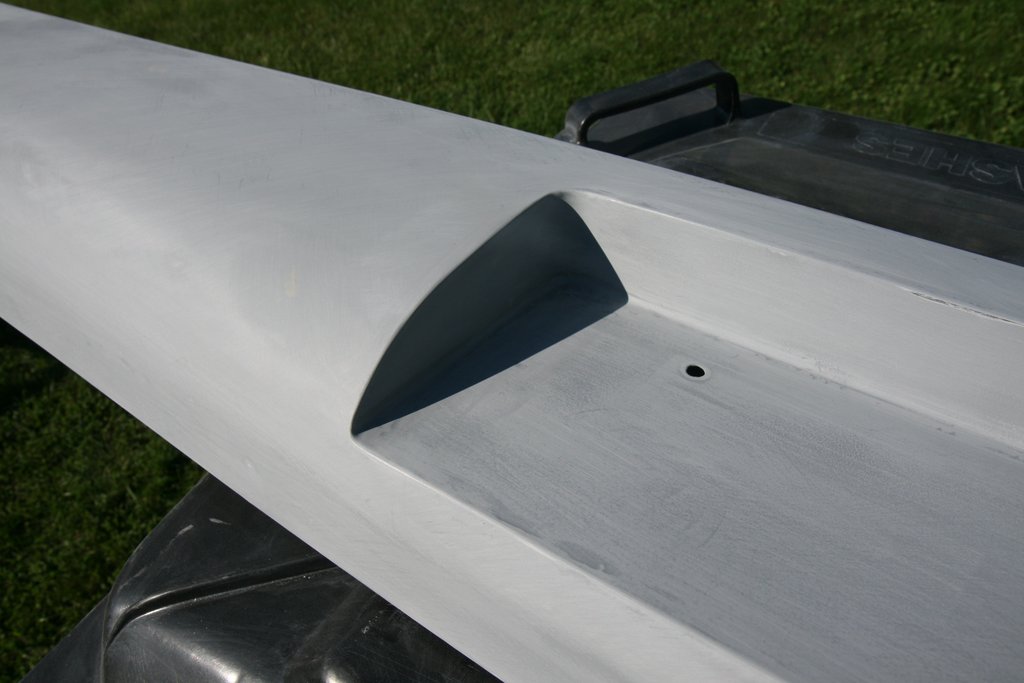
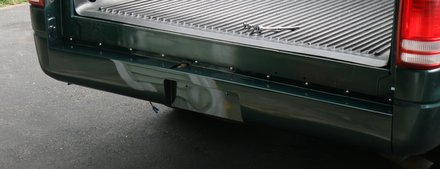
I bought a couple more spray bomb cans of duplicolor and shot the pan. The color match is amazing, but the finish texture is hideous. I used some leftover RM clear I had and layed down a couple coats. Ironically, despite my nonchalant effort, the clear came out smooth and beautiful. Done.
I could not find a good, stealthy license plate light to mount on the underside of the "frenched" opening, so I sourced a pair of 6 dollar motorcycle license plate mounting screw/LED lights to mount the plate.
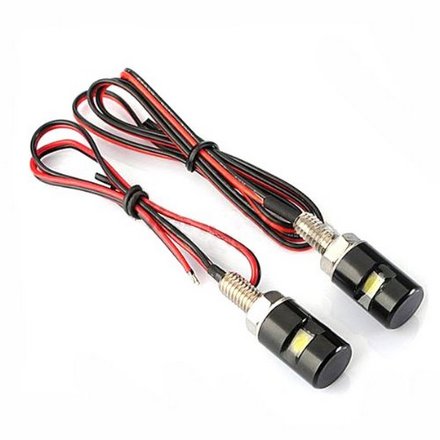
The LED's were too bright as delivered, so I put in an additional 300 ohm resistor in series with each light. They look great.
SFS
Links:
Willys Jeep CJ3A Forum
There exists a nice set of webpages for CJ3A's. It's got a forum too that caters to both '3A's and CJ3B's. It's a great resource, and frequented by very knowledgible folks.
1967 GTO Original Owner
These two videos feature an original owner GTO. This car was featured in Hemmings Muscle Cars magazine a couple years ago. Part 2 has inside and outside shots of the owner driving the car. Very nicely done.
Blues Maker
"Mississippi" Fred McDowell. One of the great Bluesman. This is a documentary made in 1969.
Pinstripes
Pinstriping the ol' fashioned way. Pretty nice.
MGB Racecar
I've always liked MG's. Watch this MGB lift it's inside tire a few inches off the tarmac when going "'round the bend". Awesome.
Pepsi Throwback
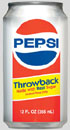
Pepsi has put out a "limited edition Throwback" version of Pepsi with REAL sugar, instead of high fructose corn syrup which has been used since the 80's. Holy cow there IS a difference; it's WAY better. Find some quick!