
Projects:
GTO
My
67 Pontiac GTO
Trunk Body Work
-Trunk pans
-Wheel wells
Body Work Part 1
-Rear Quarters
-Rear Door Jambs
-Window Reveals
Body Work Part 2
-Cowl
-Pillar
-Rocker
Body Work Part 3
-Windshield channel
-Doors
-Fenders
GTO Paint
-Filler work
-Priming
-Blocking
GTO Frame Work
GTO Convertible Top Pt 1
-Top Frame
GTO Convertible Top Pt 2
-Top Trim
GTO Drivetrain
-Engine
-Quadrajet Rebuild
-Exhaust
-Axle
Muncie
Rebuild
popular
Auto to Manual Swap
1967
Ram Air GTO
story
Wheelhouse Filler template PDF
Willys CJ3A
CJ3A Intro
Engine and REBUILD
Drivetrain
BodyWork 1
BodyWork 2
BodyWork 3
BodyWork 4
Paintwork 1
Paintwork 2
Final Assembly
Final Assembly 2
Electrical System
Other Rods
TJ Wrangler Rubicon
CJ7
CJ8
Decrepid Dakota
Powerdyne Minibike
Allis Chalmers B engine rebuild Part 1
Allis Chalmers B engine rebuild Part 2
Allis Chalmers Generator to Alternator conversion
Gizmos
Stereo camera
rig
Stereo mic preamp
About:

Feeds

Markup
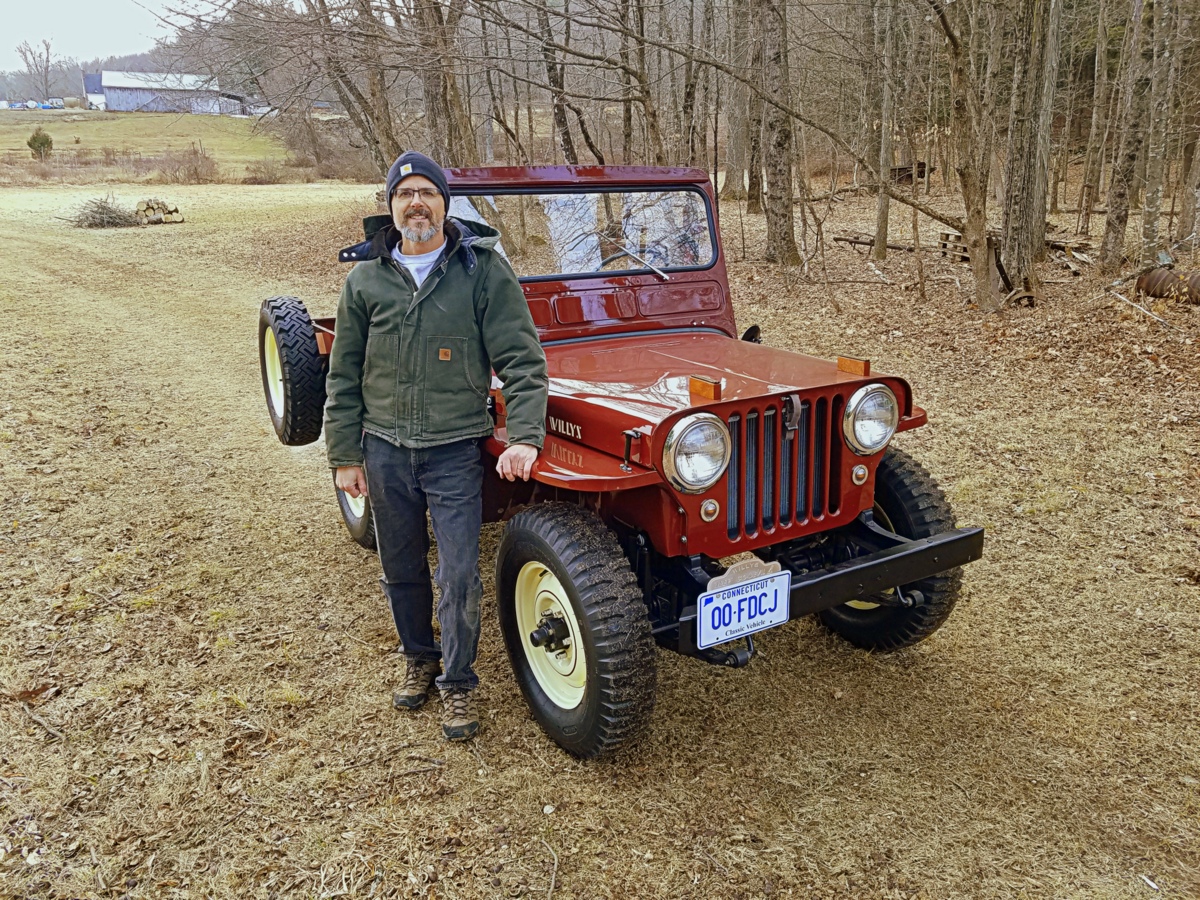
1950 CJ3A Final Assembly Part 2
This is Part 2 of the assembly of a 1950 Willys Jeep CJ3A after an extensive rebuild. To see Part 1, click here...
To see latest updates, scroll down...
February 2022
This is a much belated update to the CJ-3A assembly!
It was the summer of 2019 when I posted Part 1 of the CJ3A assembly. I was far enough along to enjoy driving it around town and peck away at little details. Later in that summer I did a little work on the engine oil jet that didn't accomplish much (It's detailed on the CJ3A engine page). But I did do a bit more engine compartment detailing.
In 2020, I was still enjoying the Jeep, but the discordant acoustic emanations from the engine caused me to drop the oil pan once again. I was thinking perhaps a quick, low cost re-ring and bearing replacement project would suit. However, the discovery of a crack at the top of #4 cylinder resulted in a visit to a Willys specialist, and ultimately an engine rebuild. The block underwent a lock and stitch repair, 0.040" overbore, and new pistons, valves, springs, and bearings were fitted (also detailed on the engine page).
For 2021, I was finally able to focus on the remaining body and interior bits to finish up this little CJ3A. It includes the Koenig hard top rebuild, and Harrison heater installation.
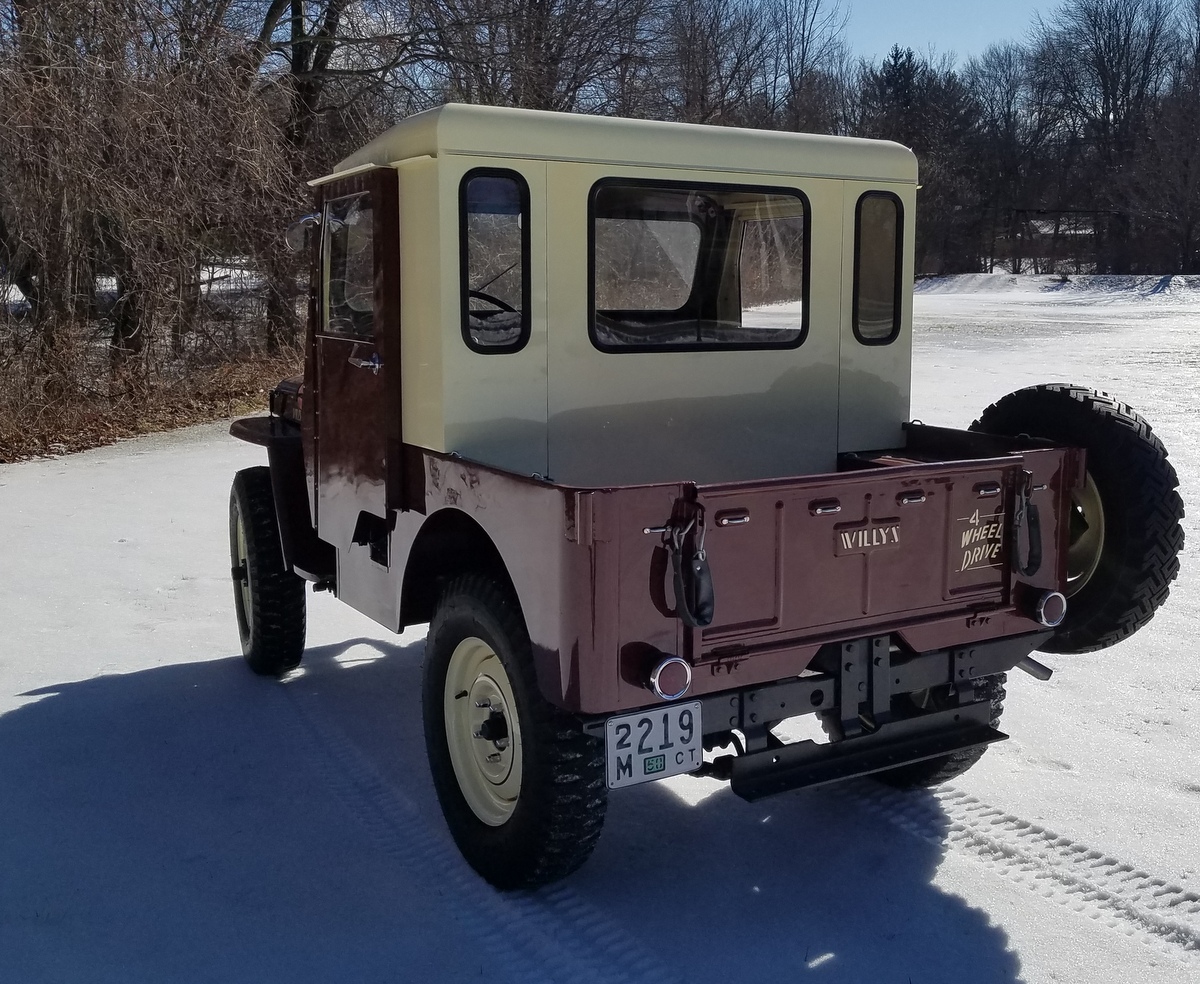
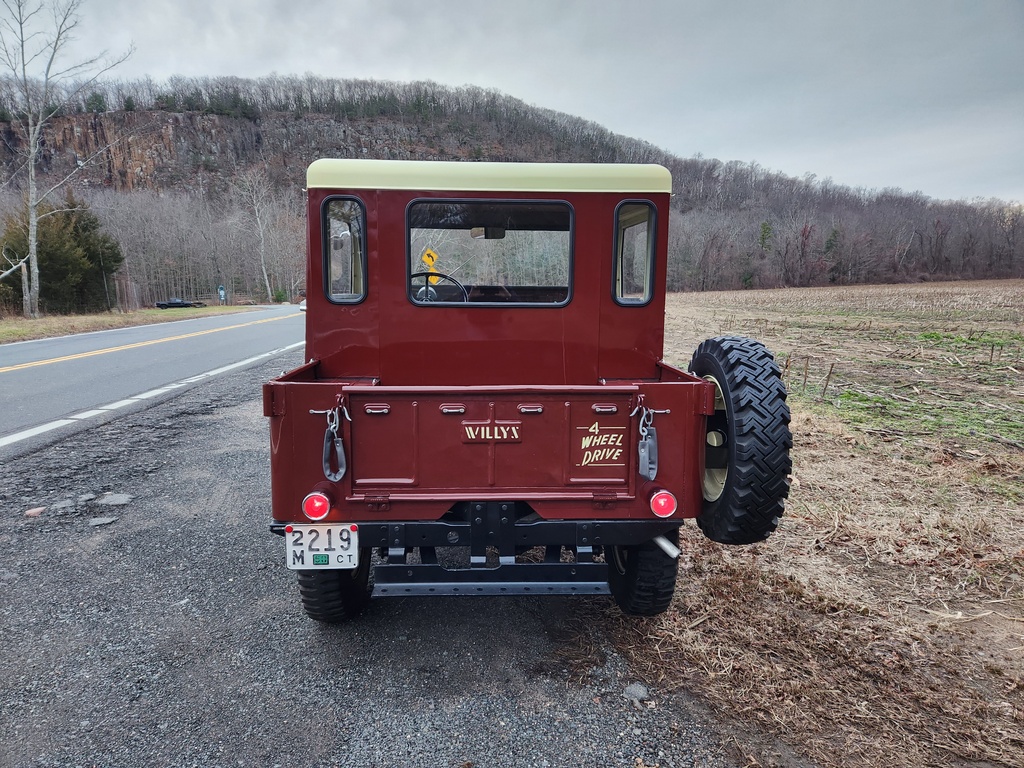
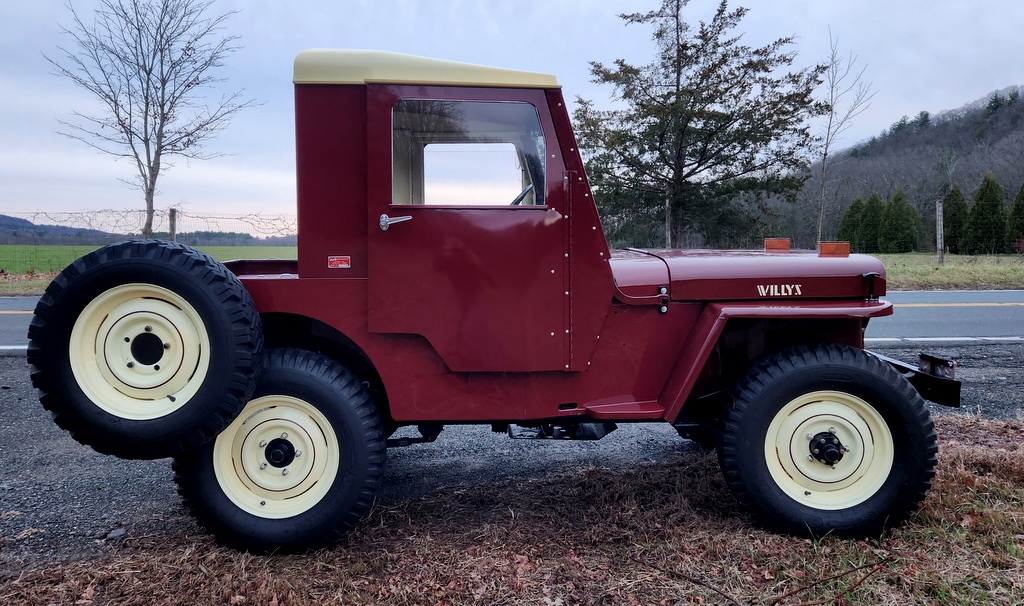
Koenig Supertop Half Cab Restoration
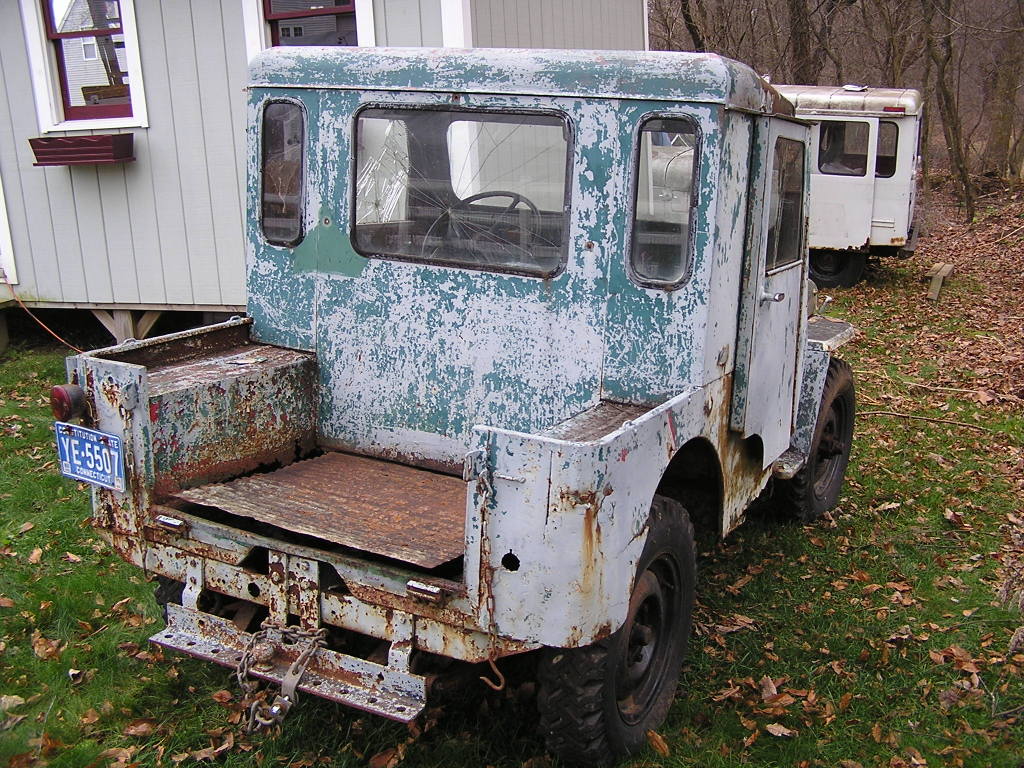
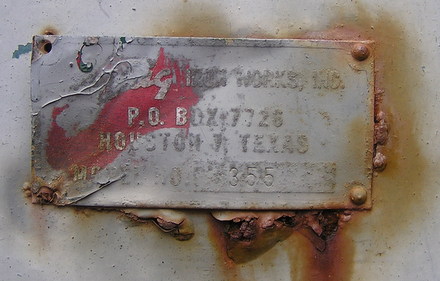
The top is a Koenig Iron Works Super Cab #355 that was likely their top-of-the-line model featuring more glass surface area than their other tops. As a snowplow Jeep, I'm sure it provided great comfort during use even if it was a bit odd and quirky looking.
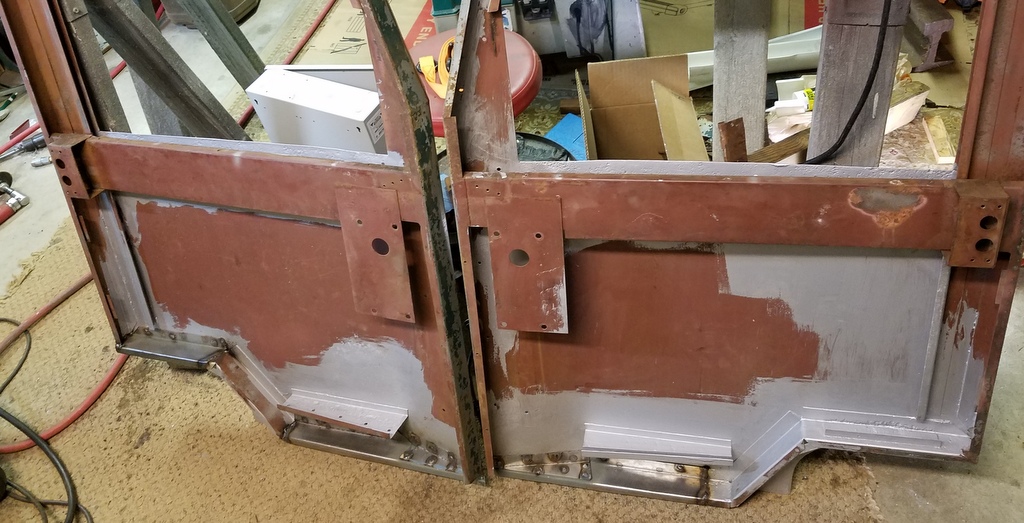
This project had it all: Rust removal, sand-blasting, patch panel fabrication, welding, grinding, endless test-fittings, priming, painting, fastener hunts, eye-watering weatherstripping research, and it took up most of my spare time in 2021.
Just about all the parts were patched with new metal in the low hanging areas. Splices were butt welded, and flanges and seams were plug welded to duplicate original construction techniques.
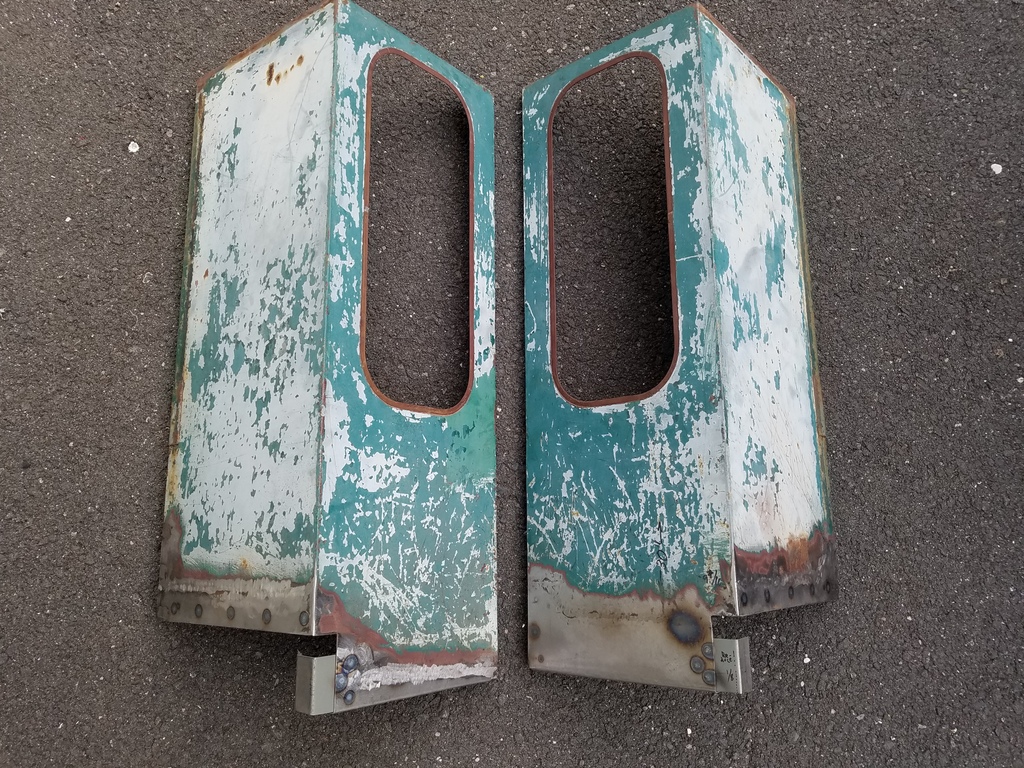

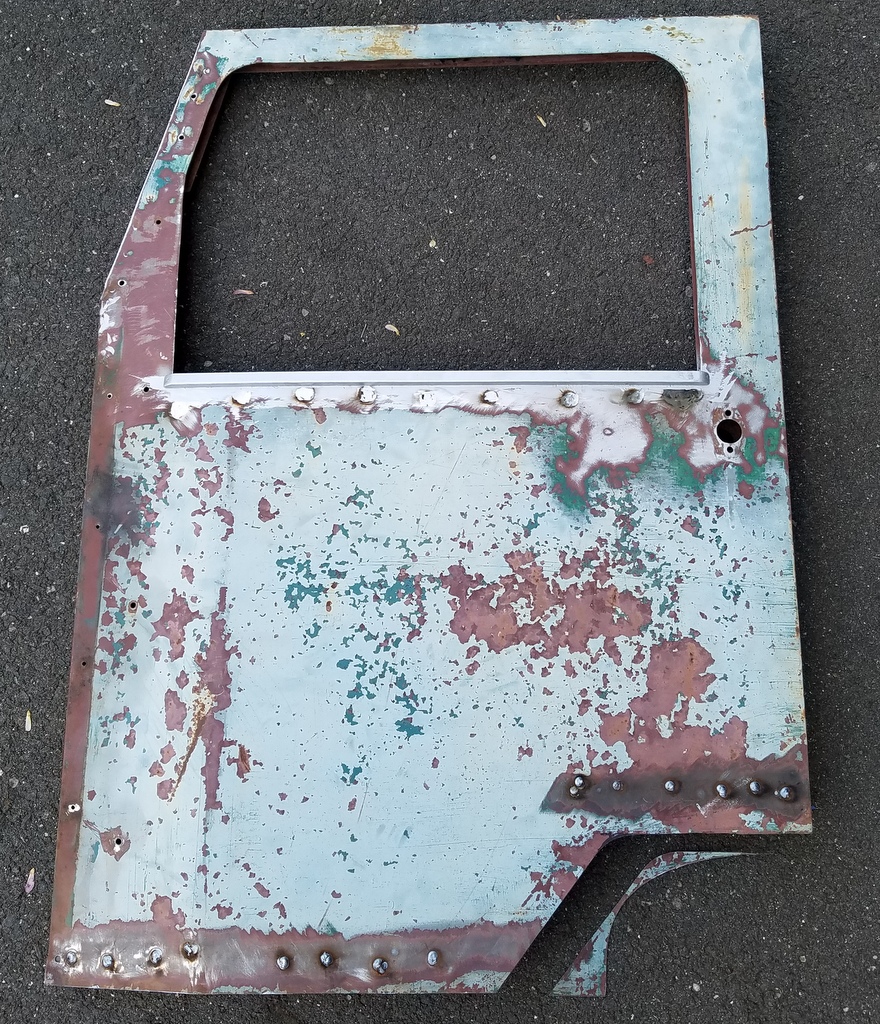
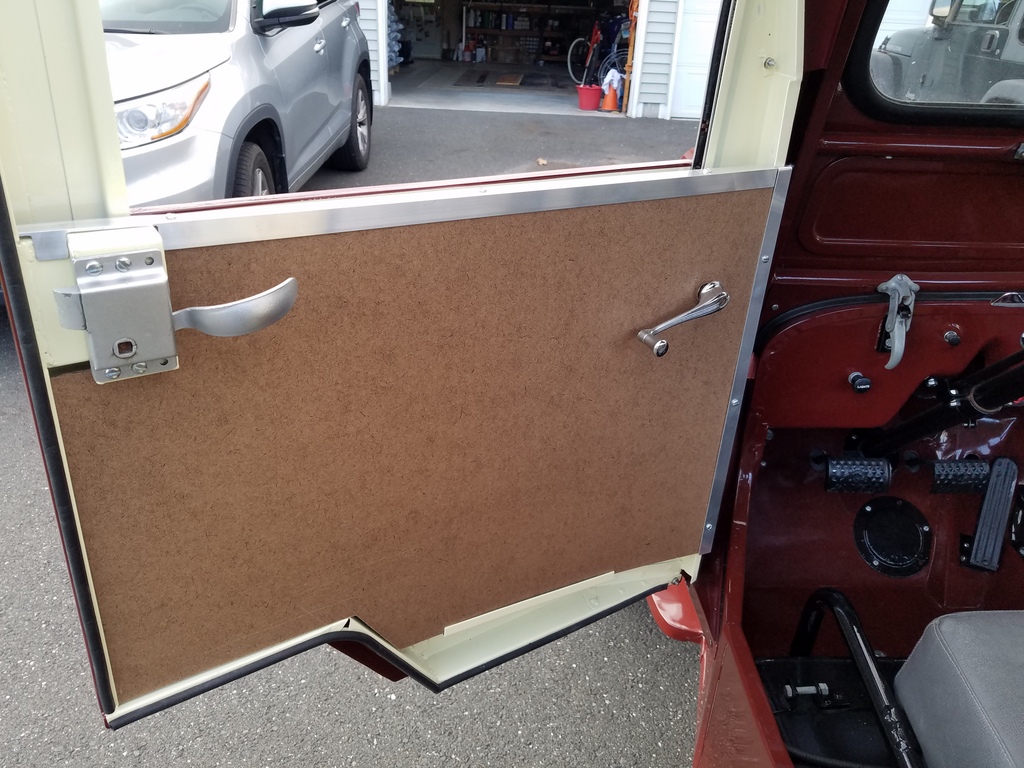
The doors required alot of repairs to the inner flange, or "shell".
I replaced the lower edge of the window opening with a piece of square tube. It's stronger and looks better. I also cut out the curve into (I think) a better angular shape...note the cut-off piece in lower right.
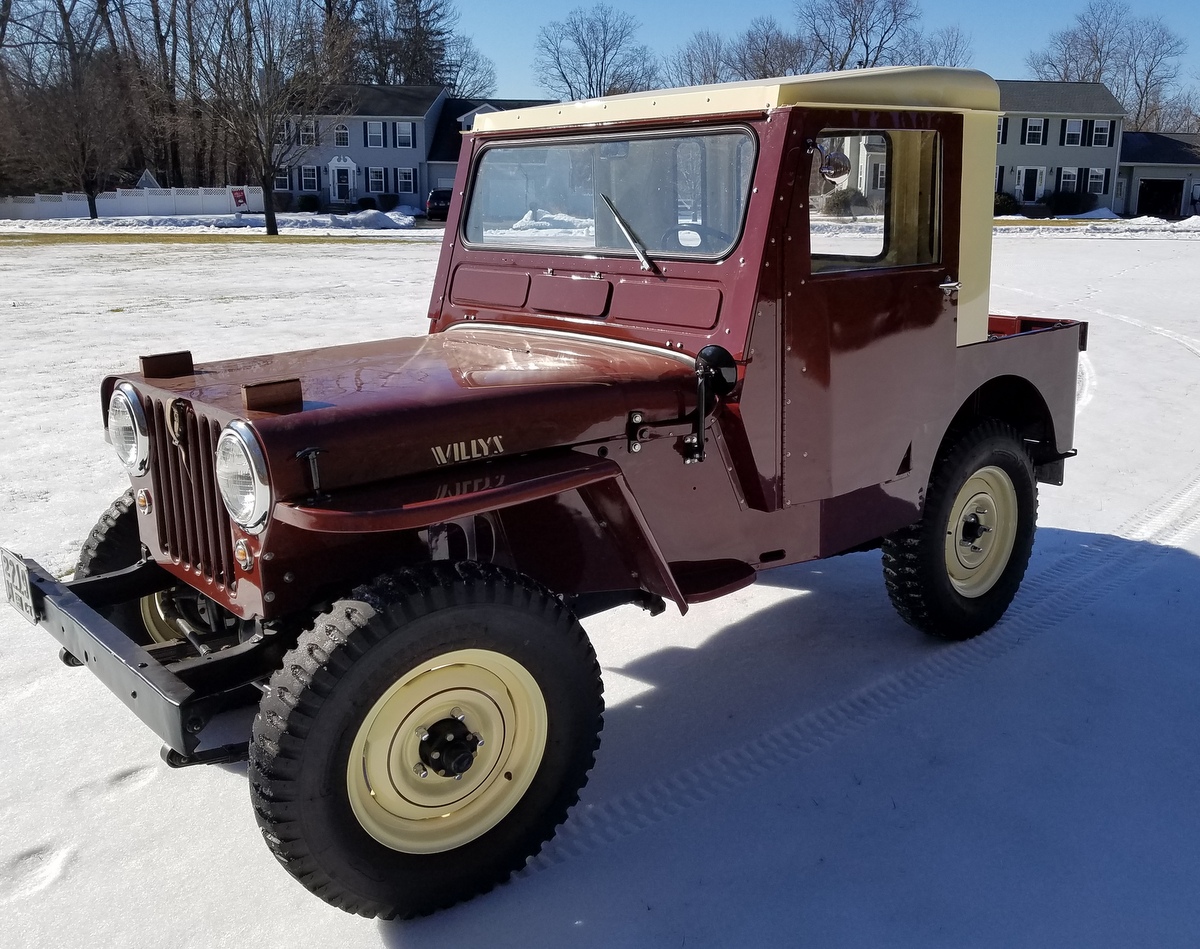
All the top installation holes in the tub and windshield were welded up when I restored the Jeep, so this installation was essentially new. I found Koenig installation instructions from Dave Eilers website www.ewillys.com which were very helpful. I finally got the doors fitted in this picture:

The painting work was typical of the steps used for the painting of the tub. I painted the pieces outside on a calm day.
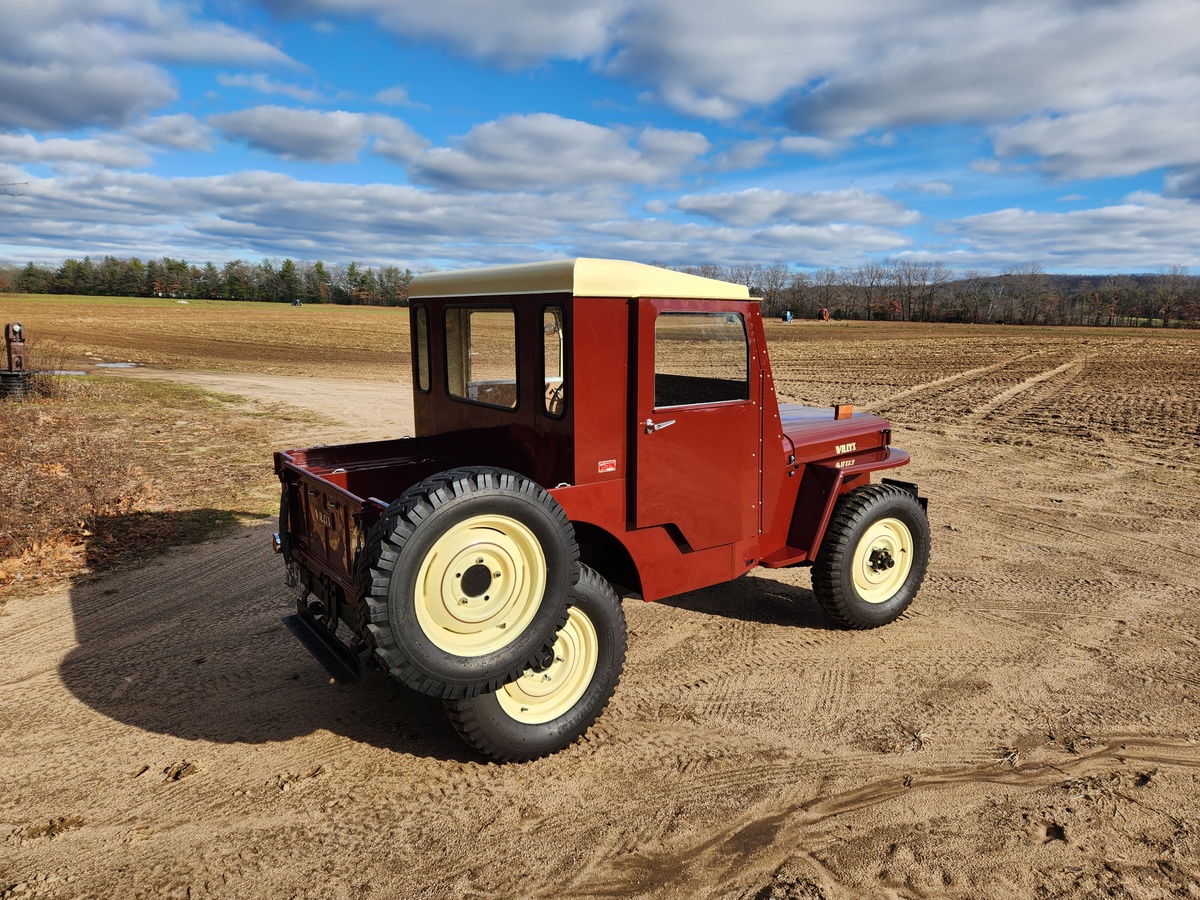
I decided to go with a "two tone" paint scheme using the same colors used on the rest of the Jeep. I am considering painting the corners and rear panel Merlot red body color...but I'm going to keep it as is for now.
I fabricated new door "cards" and headliner with masonite, like the originals. The "slam latches" were drilled apart, cleaned, re-welded, and installed. The regulators were stuck with old grease, so those were flushed with lacquer thinner and re-lubed with white grease. The windows were all replaced with 0.22" plexiglass for now. I was missing one of the exterior door handles, so I sourced two universal handles from NAPA. They are not as cool as the art-deco originals, but they will do until I find something vintage.
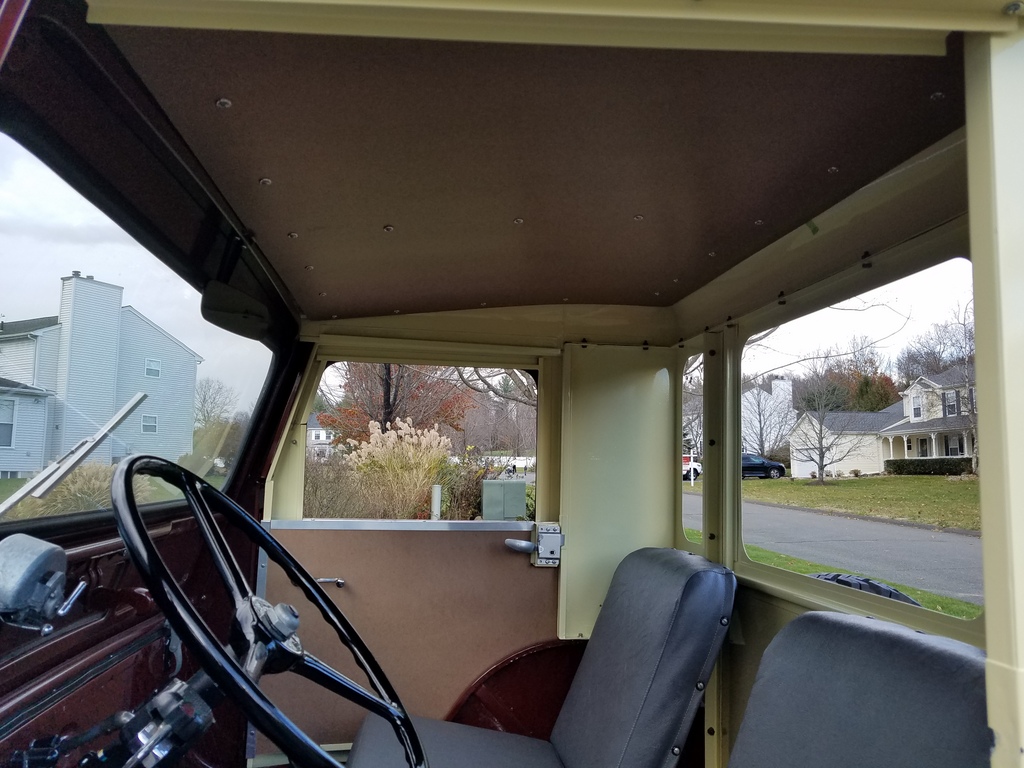
The weatherstripping and window channel took alot of work just researching the best replacement materials. I got stainless bead channel for the doors.
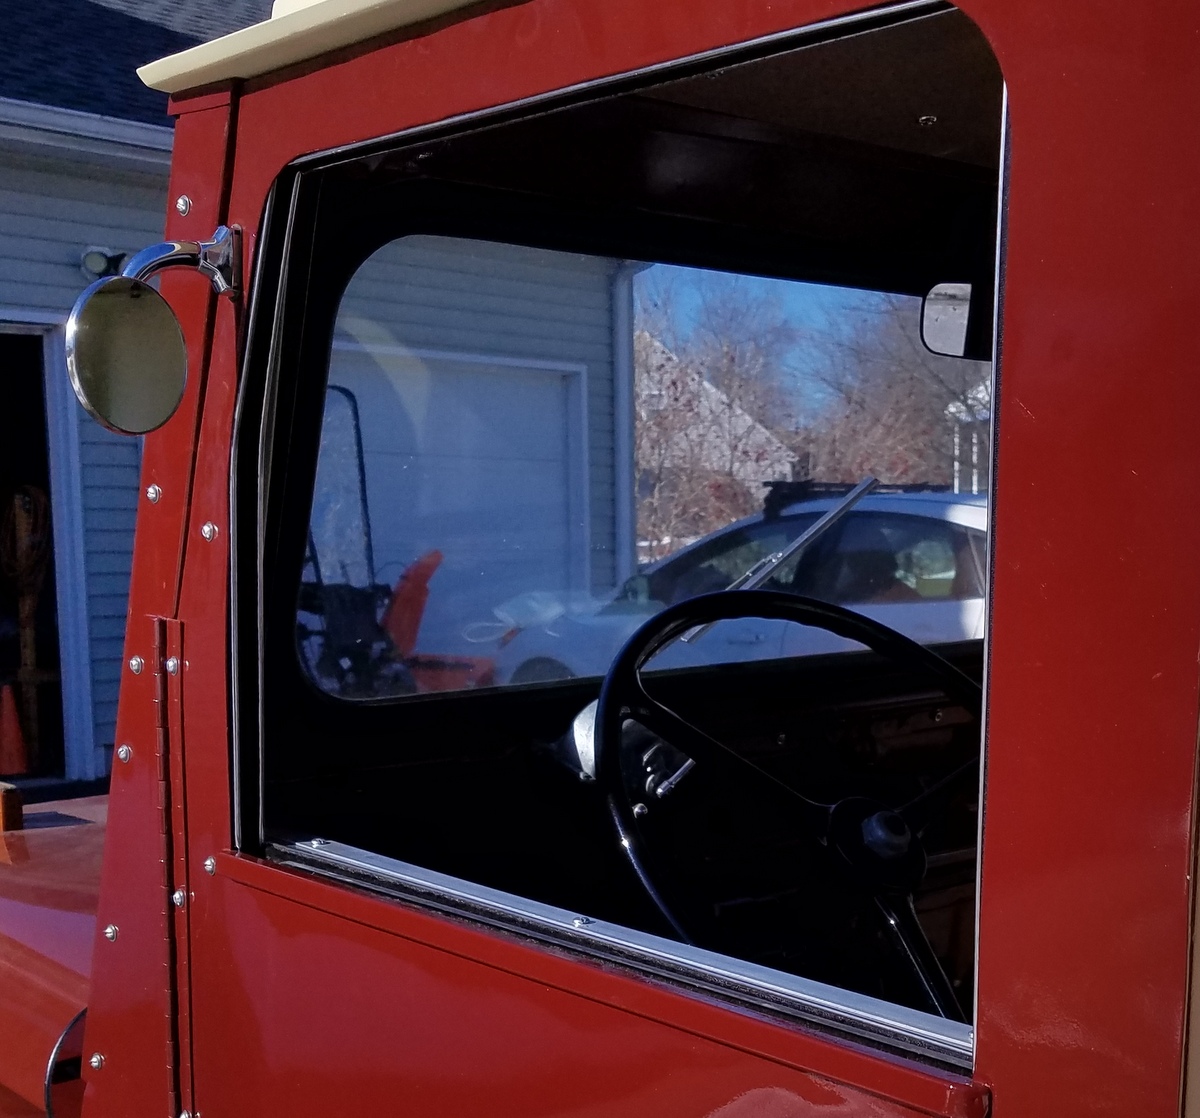
It's hard to see, but I also added a sweeper on the interior window opening. There wasn't one originally, but it looks so much better with a more finished look.
I also made a new tag using a DIY aluminum masking/etching technique using hydrogen peroxide and muriatic acid. I used a masking print paper sourced from Amazon. Using your artwork, you can print a mask, iron it onto a substrate plate, etch it, paint it, scrub off the "proud" paint, and Hey Presto, you've got a nice new tag.

I think I've got this top sorted so that it's better than new. The first rides revealed that the top is a low frequency reverb chamber at low and off idle speeds. I will undertake some R&D for mitigation of the sympathetic vibration problem (probably some insulation between the headliner and top). But hey, it looks really cool.
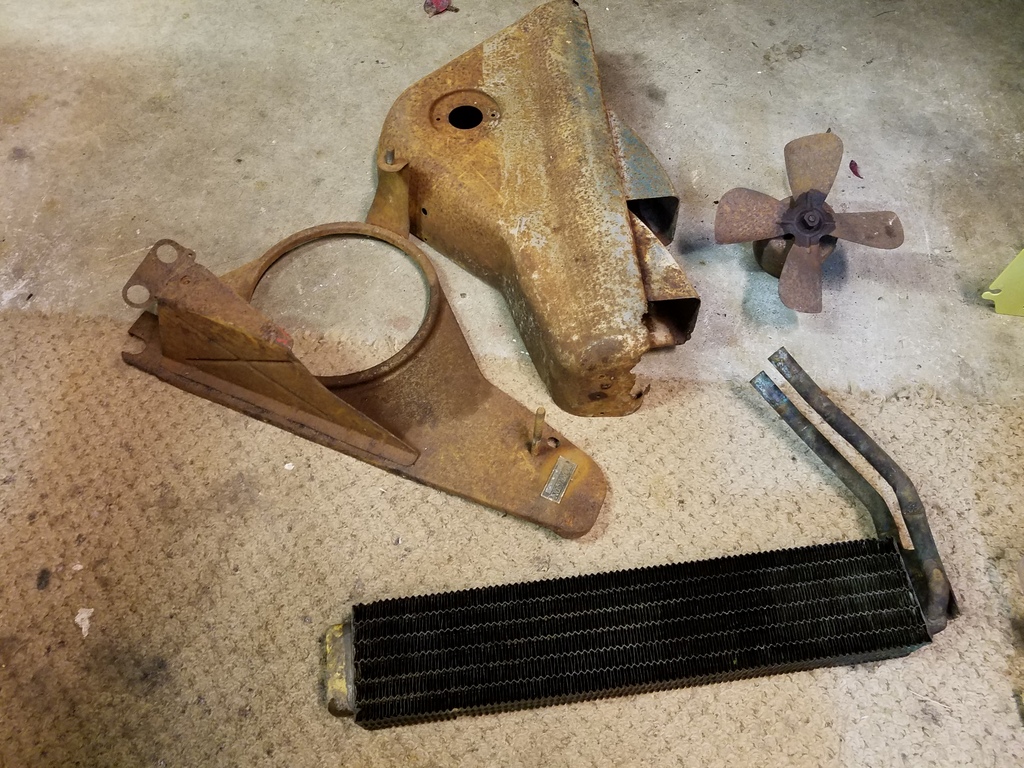
Harrison Heater
The Jeep also came to me with a Harrison heater. It was completely rotted from generations of mouse nesting.
The housing required extensive patching. The curves were a challenge but my brute force approach of pounding a sliced up piece of sheet metal to shape, welding it with gobs of weldment and then grinding it smooth served me well once again.
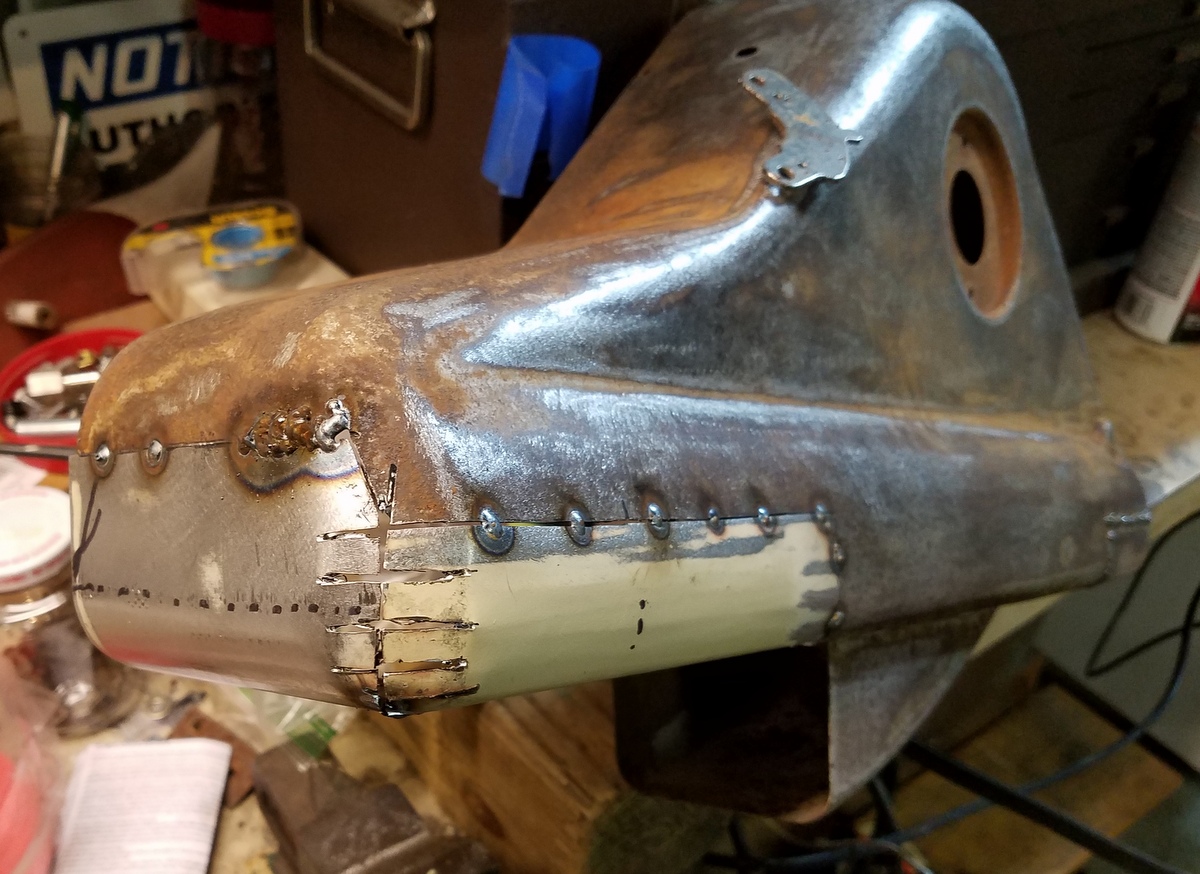
I made up a new, left-most, lower duct, and repaired the rear panel. Smoothed it, primed it, and painted it with gray "hammer' paint. It looks great.
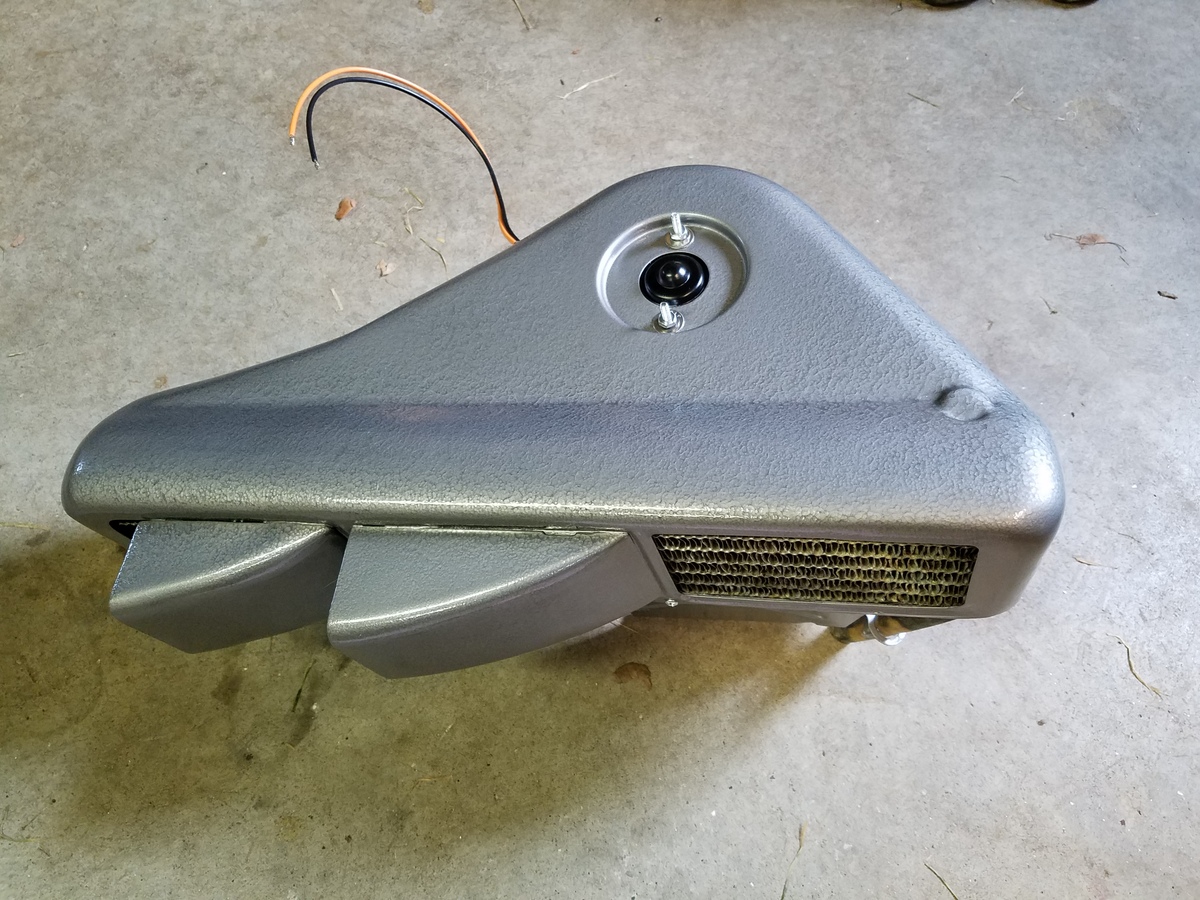
A pressure test revealed the heater core had a hole in the middle of the core. Click the picture below to see it. I ripped out the surrounding heat exchanger fins to get at the pinhole, then sandblasted it, fluxed it, then soldered the hole with a few gobs of lead-tin solder. Making sure the metal is super clean and using strong flux was the key to success.

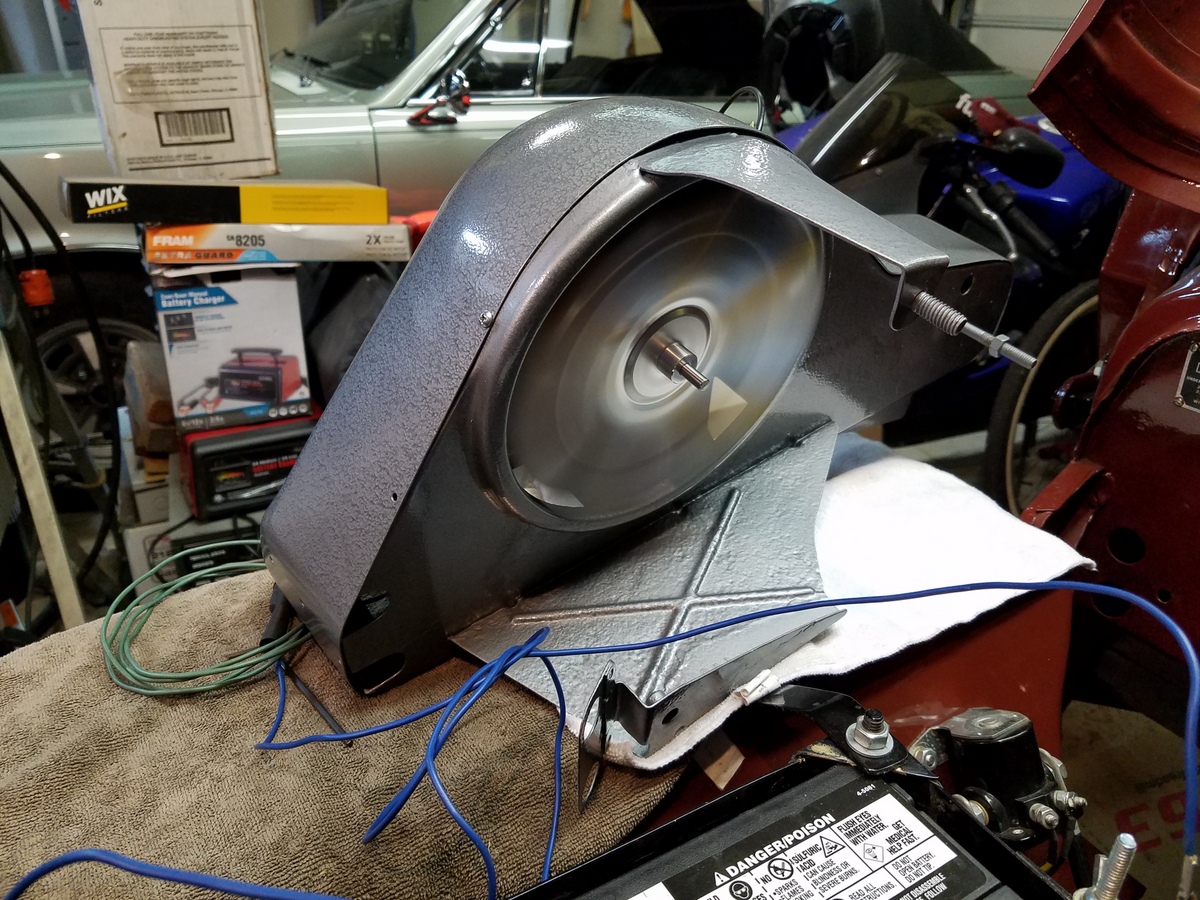
I put in all new components for the blower motor. The 6V motor still worked, but it was permanently fused to the fan blade and besides, I have a 12V system now. I bought a new blower motor (P/N PM354) from Rockauto, and a new 7 inch fan blade from McMaster Carr. Both components were a bolt-in swap. The switch is a universal unit that even has a little lamp to illuminate the knob.

The rig was rigged up on the fender for a test.
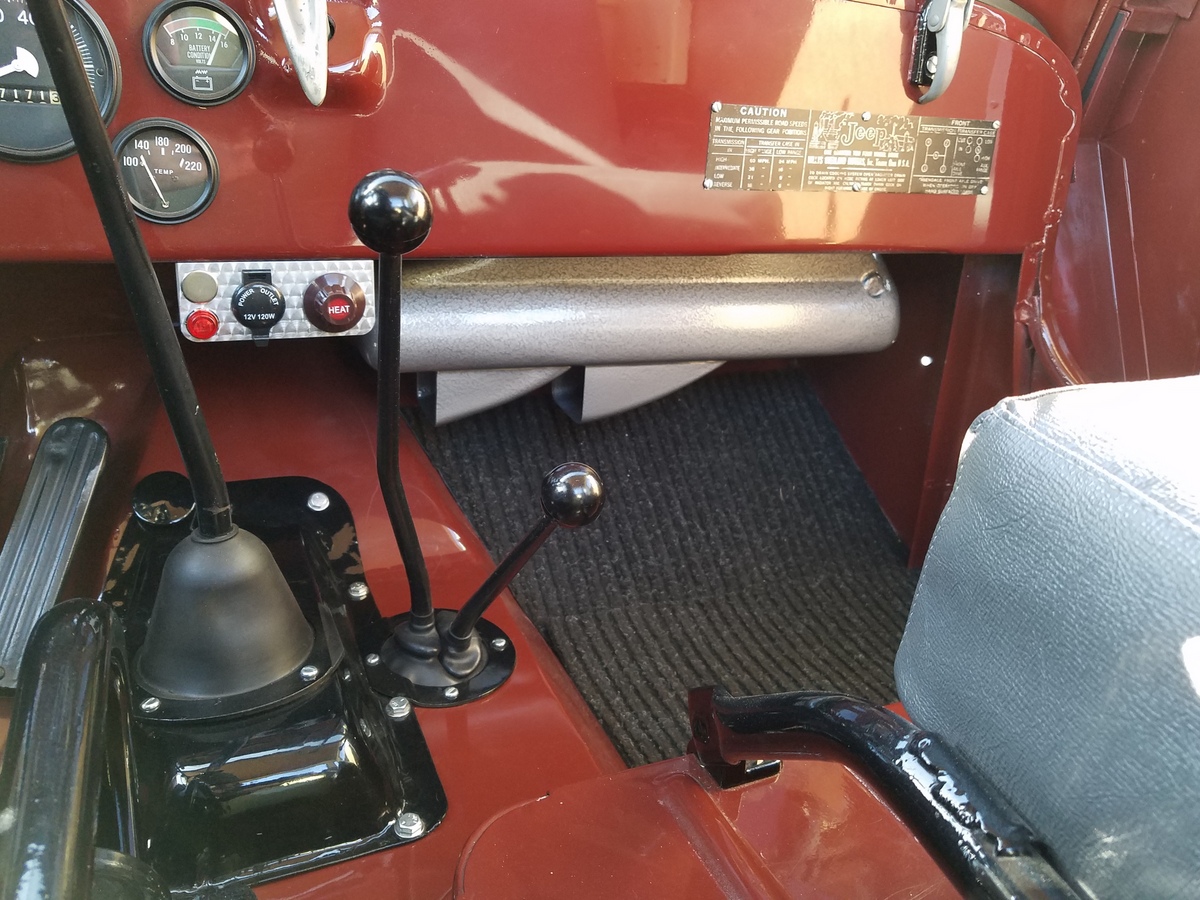
I made a little aluminum panel for the dash to mount the blower switch along with a power socket and a couple lamp indicators. For the panel, I made a little jig and machined in some "engine turned" swirls. The lamp socket in the lower left will be for the alternator "idiot" light, and the one above (blocked off for now) may become a brake lamp indicator.
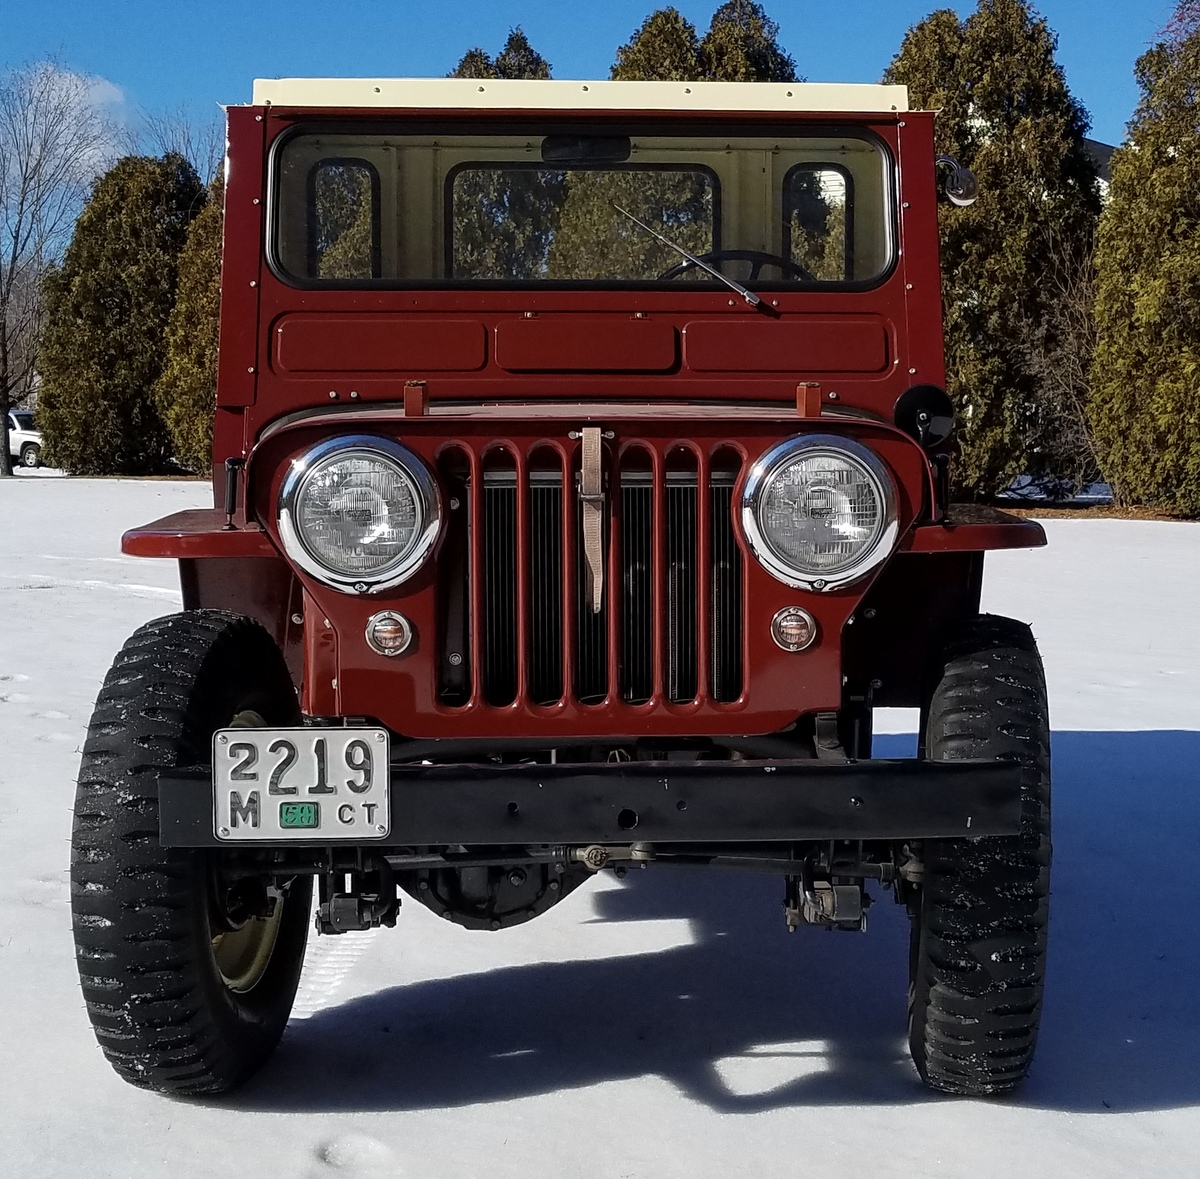
Fini
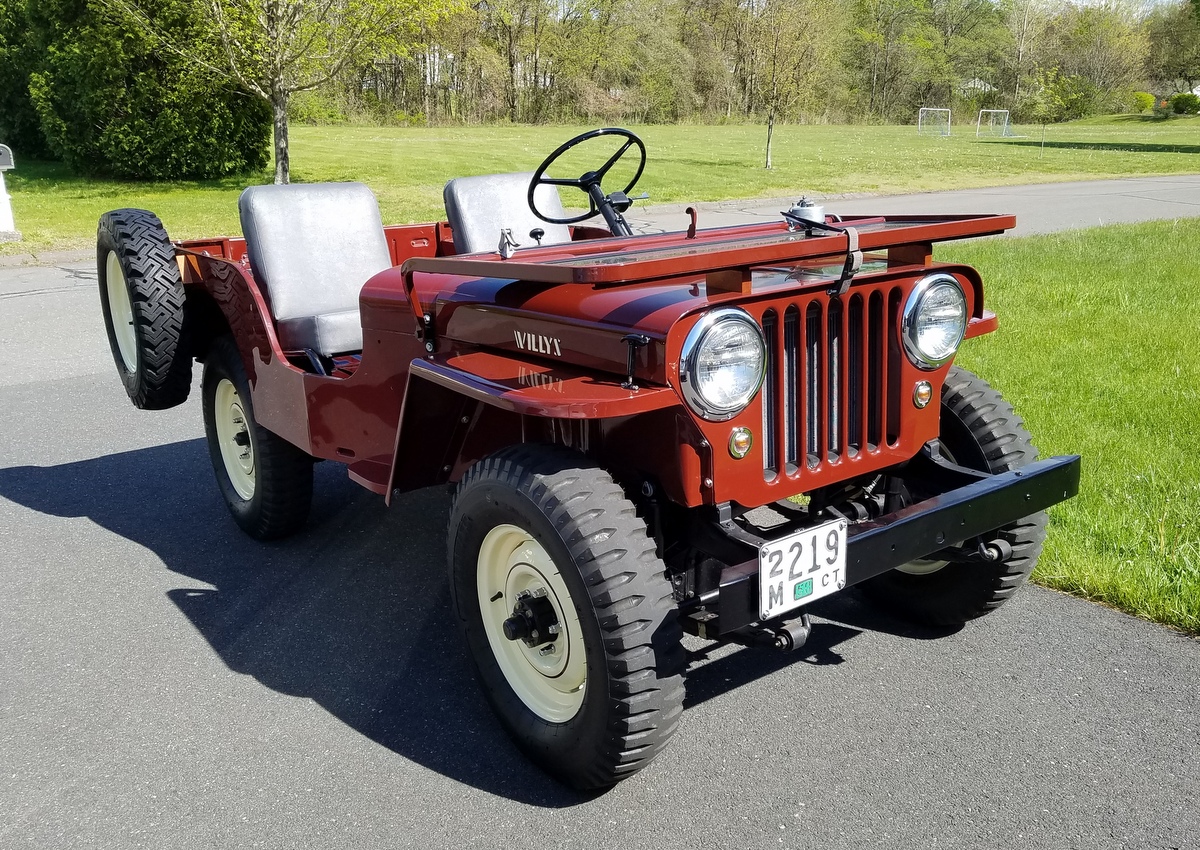
I've got a list of punch list items to complete, but for the most part, I can say that "phase 1" of ths little Jeep is complete. Everything works, it's reliable, it's fun to drive, and it still oozes a healthy simplicity and originality.
December 2022
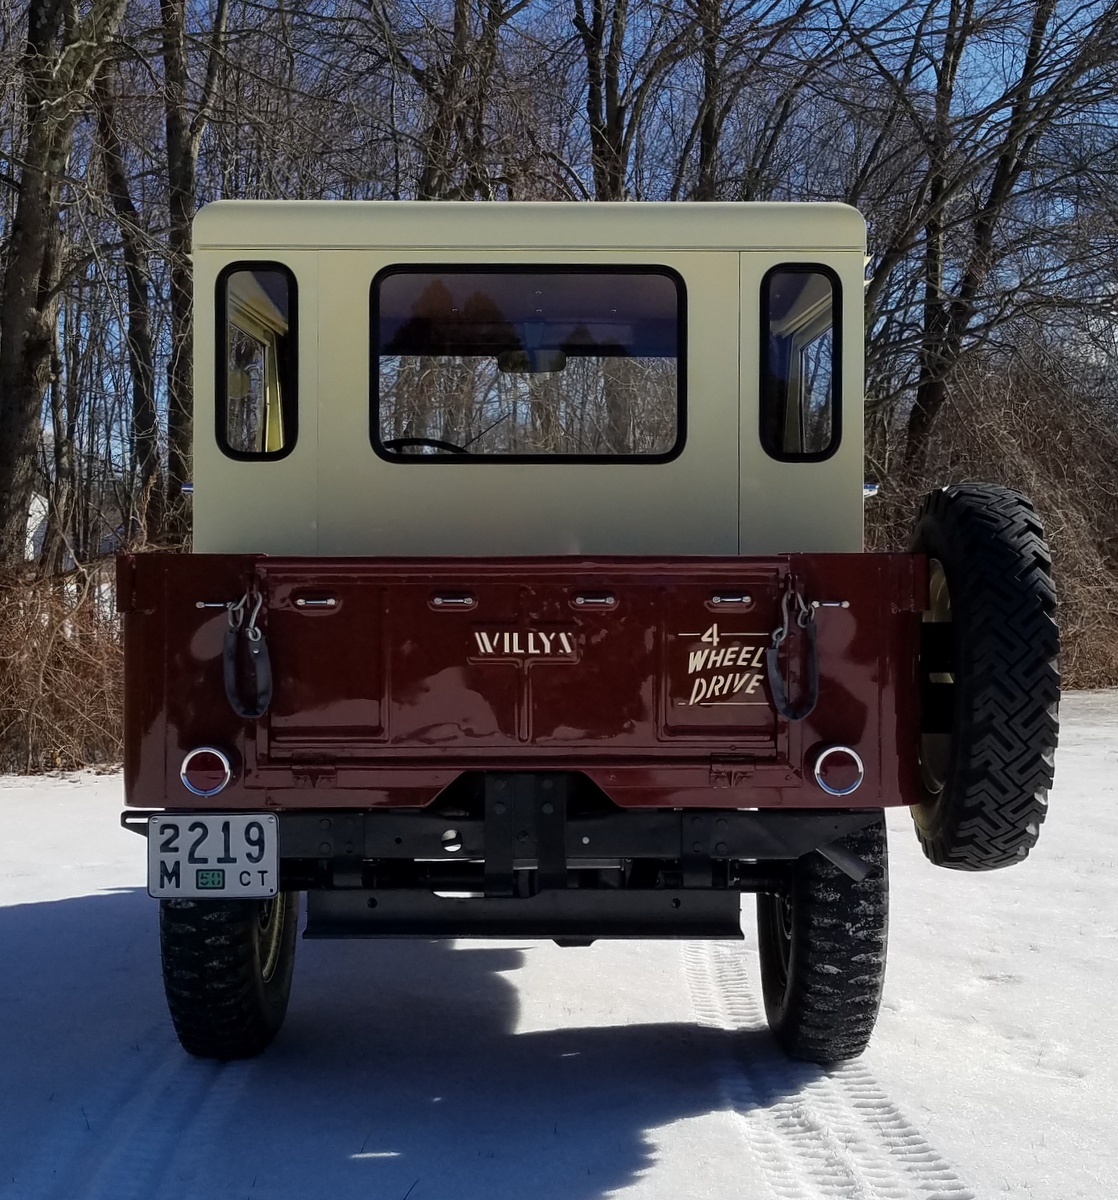
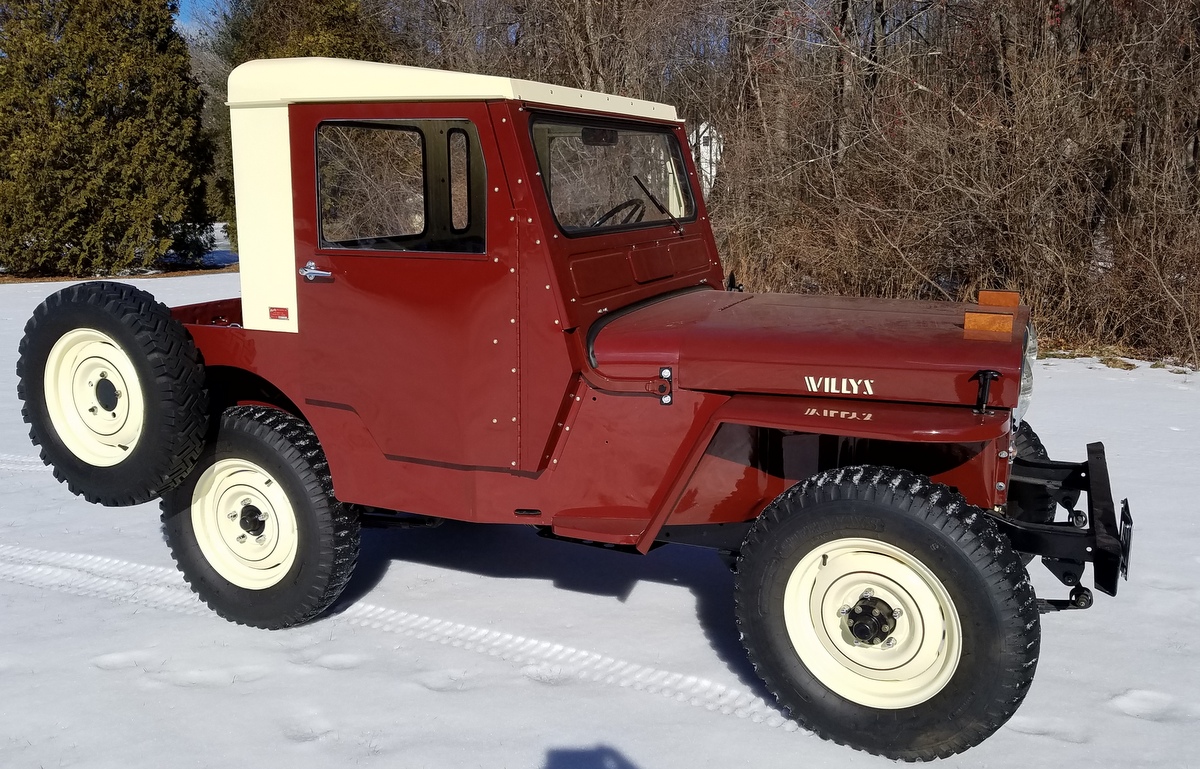
I thought I'd take the top off in the summer and have all kinds of time to change the color on the rear panels of the hardtop (as I may have mentioned planning above). But, nope, I didn't take the top off, and i didn't have all kinds of spare time until this November (of 2022). I unscrewed the rear panels, shimmed the top panel up, and slipped the corner and rear top panels off the Jeep.

I removed the fixed windows, scuffed the ivory paint down, and primed and painted the panels with the Kirker Merlot red paint. I've gotten pretty good at spraying this stuff, and I'm pleased with the results.
I'm contemplating some improvements in the fuel system. Stay tuned.
If you have any comments, drop me an email. Thanks!
Click here to go back to HOME page.
SFS
Links:
Willys Jeep CJ3A Forum
There exists a nice set of webpages for CJ3A's. It's got a forum too that caters to both '3A's and CJ3B's. It's a great resource, and frequented by very knowledgible folks.
1967 GTO Original Owner
These two videos feature an original owner GTO. This car was featured in Hemmings Muscle Cars magazine a couple years ago. Part 2 has inside and outside shots of the owner driving the car. Very nicely done.
Blues Maker
"Mississippi" Fred McDowell. One of the great Bluesman. This is a documentary made in 1969.
Pinstripes
Pinstriping the ol' fashioned way. Pretty nice.
MGB Racecar
I've always liked MG's. Watch this MGB lift it's inside tire a few inches off the tarmac when going "'round the bend". Awesome.
Pepsi Throwback
Pepsi has put out a "limited edition Throwback" version of Pepsi with REAL sugar, instead of high fructose corn syrup which has been used since the 80's. Holy cow there IS a difference; it's WAY better. Find some quick!